
Image by Victoria Farr from Pixabay
With a little thought, creativity and some inexpensive odds and ends you can add charming accents to your home. Weekend projects provide a fun way to spend a few hours and being able to look at your finished project with satisfaction is even better if it serves a useful purpose beautifying your property. The majority of store-bought garden hose caddies aren’t particularly attractive, and of course neither is a loose hose, but all you really need is a container or hanger of the right size. Keeping this in mind, lots of objects can work beautifully for this purpose, and you can design them yourself and incorporate touches that best complement your home.
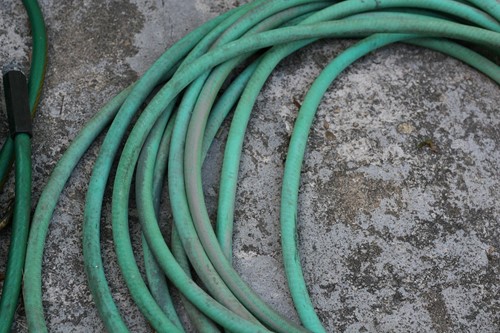
The beautifully painted ceramic planters you’ve been eyeing in the gardening departments of stores can be transformed into more than just the statement piece for your garden. Choose one large enough that it can neatly hold the coils of your given hose--the longer your hose, the taller or wider the planter should be. Drill bits designed for ceramic tiles can easily be found at hardware stores so you’ll be able to make holes in the side of the planter as needed for the hose to enter the caddy from the spigot and to exit the caddy for use. Be sure the diameter of your holes leaves excess room to allow the hose to easily slide through without kinking or cutting into it; you want to be able to slide it out easily for use.
If your planter is tall enough you might choose to leave it as is, but some planters come with lids so you can completely conceal the hose for storage. Alternately you can buy a shallow bowl-shaped planter to fit into the top of your hose caddy and plant some flowers to hide the hose.
Pieces made from natural, textured materials like wood look at home nested in your garden or alongside your house. Start by picking up a standard wood shipping-style crate for around $10 from superstores, craft stores or used from online shops, as well as a thin rectangular piece of similar wood about 1/2 to 3/4 inch thick. You will also need a wooden dowel road about 1 inch in diameter.
Use a hole cutter attachment for your drill to cut 2 holes into boards on the size of your crate for your hose to lead in to the crate from the spigot and an outgoing hole to make use of the hose when needed. Make these holes of ample size so as not to abrade or cut into your hose.
A simple lid can be made by cutting the rectangular piece of wood to be even with the outer edge of the crate opening. Next, cut 4 1/2 to 1 inch lengths of the dowel road. On the underside of the lid you made, use wood glue or a slim nail to attach a 1/2 to 1 inch length of dowel just far enough away from the lid’s corners that they fit inside the crate’s opening and hold the lid in place.
If desired, stain the crate and lid. You could also stencil ‘fragile’, location names or other travel-themed accents on the boards to denote the shipping crate theme, or use wood glue to attach prints of vintage advertising signs or crate labels, then add a coat of varnish.